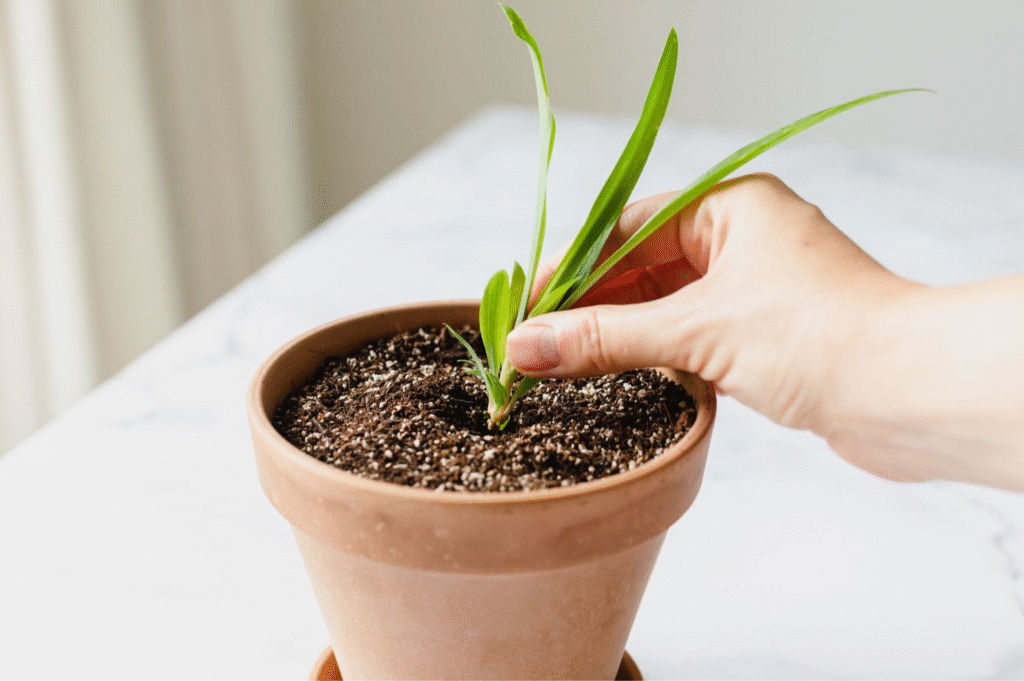
Spider plants (Chlorophytum comosum) are among the easiest houseplants to propagate, making them perfect for beginners and indoor gardening enthusiasts. If you’ve noticed your spider plant growing baby spiderettes (plantlets), it’s time to learn how to root them and grow new plants from scratch.
In this guide, you’ll learn how to root a spider plant properly using simple methods that work, whether in water or soil.
What Does “Rooting” a Spider Plant Mean?
Rooting a spider plant means encouraging the small offshoots, also called plantlets or spiderettes, to develop their own roots so they can grow into full, independent plants.
These offshoots usually hang from the main plant on long stems and can be rooted once they start showing tiny nubs or root bumps at their base.
Best Time to Root Spider Plant Babies
When the spider plant is actively growing (in the spring or early summer), it is the ideal time to root plantlets. However, since spider plants are hardy, you can successfully root them indoors year-round under the right conditions.
How to Root a Spider Plant in Water (Easiest Method)
Rooting in water is ideal for beginners because you can see the roots growing before planting. Here’s how to do it:
What You’ll Need:
- A healthy spider plant baby (with visible root nodes)
- A glass or jar of room temperature water
- A bright, indirect light source
Steps:
- Cut the plantlet from the mother plant using clean scissors or pruning shears.
- Place it in water, ensuring only the root area is submerged. Keep leaves above the waterline to avoid rot.
- Put the jar in bright, indirect sunlight.
- Change the water every 2–3 days to keep it fresh.
- You’ll see the growth of white roots in one or two weeks.
When to Transfer to Soil:
Once the roots are 1–2 inches long, you can transplant the plantlet into a pot with well-draining soil.
How to Root a Spider Plant in Soil
Rooting directly in soil skips the water step and helps the plant adapt to the soil from the beginning.
What You’ll Need:
- Spider plant baby
- Small pot with drainage holes
- Indoor plant potting mix (well-draining)
- Spray bottle or watering can
Steps:
- Gently snip off a healthy spiderette.
- Fill the pot with moist potting soil.
- Insert the root node (or bottom of the plantlet) about ½ inch into the soil.
- Lightly water the soil to keep it moist but not soggy.
- The pot should be placed in a warm, bright spot that receives indirect sunlight.
In about 2–3 weeks, the spiderette should establish roots and begin new growth.
Can You Root a Spider Plant Without Cutting It?
Yes! You can root spiderettes while they’re still attached to the mother plant.
Here’s how:
- Place a small pot filled with soil near the parent plant.
- Pin or rest the spiderette on top of the soil.
- Water regularly and wait for roots to form.
- Once rooted, cut the connecting stem.
This method gives plantlets a smoother transition and less transplant shock.
Tips to Make Rooting Successful
- Use sterilized scissors to prevent disease.
- Avoid direct sunlight, which can burn the delicate plantlets.
- To prevent root rot, always utilize soil that drains effectively.
- Don’t overwater; keep the soil lightly moist.
Final Thoughts
Rooting spider plant babies is easy, fun, and a great way to expand your indoor garden without spending extra money. Whether you root them in water or soil, the key is providing the right care during the early stages.
With just a few simple steps, you can turn one spider plant into many (perfect for gifting, decorating, or filling your home with lush greenery). And if you’d like to see a broader approach to propagating spider plants from start to finish, there’s a guide that covers it fully.


