Spider plants (Chlorophytum comosum) are known for their fast-growing nature and beautiful arching leaves. However, as they get larger, their roots may soon fill the pot, causing symptoms like drooping leaves, tips that turn yellow, or roots that arise from the drainage holes.
If your spider plant seems crowded, it’s time to repot. In this guide, you’ll learn exactly how to repot a spider plant step by step, including when to do it, what pot and soil to use, and how to reduce transplant shock.
Why Repotting Is Important
Spider plants develop thick, tuberous roots that store water and nutrients. Over time, these roots become compact and root-bound, leaving no room for fresh soil or growth.
Repotting helps:
- Refresh nutrients
- Prevent stunted growth
- Promote healthier leaves
- Allow the plant to produce more baby spiderettes
Once you understand the benefits of repotting, it’s also helpful to know the basics of growing a spider plant so you can keep it thriving long-term.
When to Repot a Spider Plant
Best time to repot: Spring or early summer
Avoid repotting in winter, when the plant is dormantREAD MORE Are Spider Plants Toxic to Betta Fish?
Signs your spider plant needs repotting:
- Roots coming out of the drainage holes
- Water runs straight through the pot
- Soil dries out too quickly
- Leaves are wilting or turning brown despite proper care
- Pot is visibly bulging or cracking
What You’ll Need
- A new pot (1–2 inches larger in diameter)
- Fresh, well-draining potting mix (houseplant or cactus mix)
- Clean scissors or pruning shears
- Gloves (optional)
- Watering can
How to Repot a Spider Plant (Step-by-Step)
Step 1: Choose the Right Pot
- Pick a pot with drainage holes
- Go up only one size larger than the current pot
- Avoid overly deep containers (spider plant roots are shallow and wide)
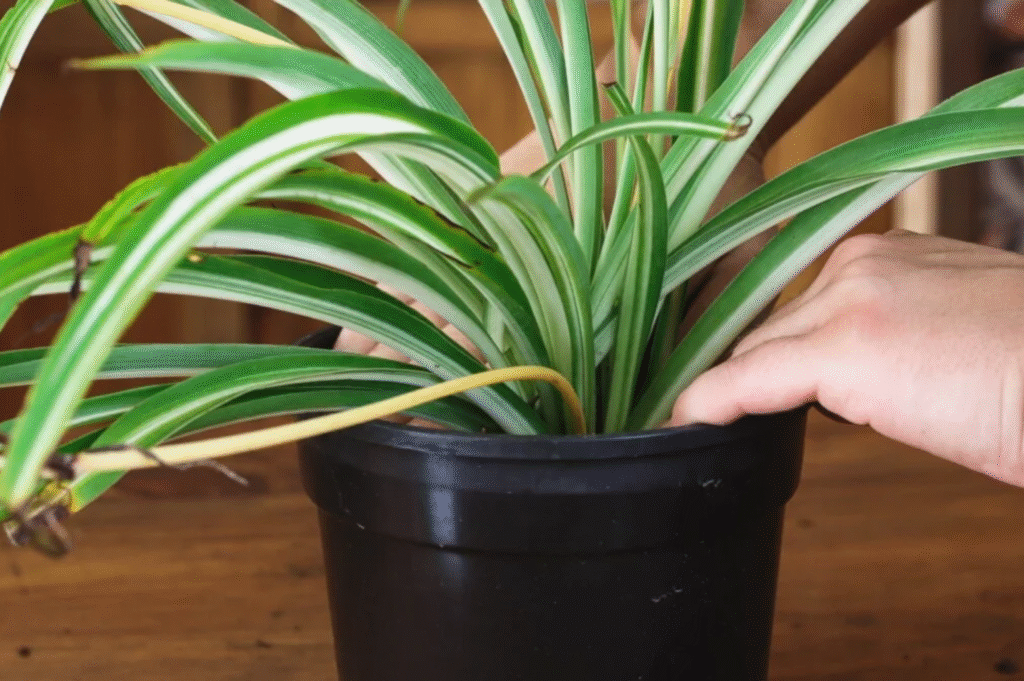
Step 2: Remove the Plant Gently
- Gently remove the plant from the pot by turning it sideways.
- If it’s stuck, use your fingers to free the edges or tap the sides.
Step 3: Loosen and Trim the Roots
- Shake off excess soil from the root ball
- If the roots are tightly wound (root-bound), gently tease them apart
- Trim off any dead, mushy, or black roots
Step 4: Refresh the Soil
- Cover the bottom of the new container with a layer of fresh potting mix.
- Put the plant in the middle, then add extra soil around the roots.
- Keep the crown of the plant level with the soil surface, don’t bury it
Step 5: Water Thoroughly
- After repotting, give the plant sufficient water to let the soil settle.
- Allow excess water to drain out completely
Step 6: Post-Repot Care
- The repotted spider plant should be placed in an area with bright, indirect light.
- Avoid direct sunlight for a few days to reduce transplant stress
- Don’t fertilize for 3–4 weeks to prevent root burn
Bonus Tip: Divide Large Spider Plants While Repotting
If your plant is very large, you can divide it into two or more plants during repotting. Just gently separate the root sections and replant them into separate pots.
This is a great way to multiply your plant collection!
Frequently Asked Questions (FAQs)
How often should I repot a spider plant?
Every 1–2 years, or when it becomes root-bound.
Can I use regular garden soil?
No. Spider plants need well-draining potting mix. Garden soil is too dense and can cause root rot.
Should I trim the leaves when repotting?
Only remove yellow, brown, or damaged leaves. Healthy leaves should be left intact.
Final Thoughts
Repotting a spider plant may sound intimidating, but it’s actually very simple and incredibly rewarding. A fresh pot and nutrient-rich soil can breathe new life into your plant, encouraging fuller growth and more vibrant leaves.